Make accurate cut lines on grid beam using our cut alignment tool, then simply cut using a hand saw.
Contents
- Mark your cut
- Tools needed
- Using the cut alignment tool to mark cuts
- How to mark the beam
- Cutting beams with a hand saw
- Tools needed
- Prep your workspace
- Aligning the cut
- Sawing
- Accounting for blade kerf
- What is blade kerf?
- How to measure your saw's kerf.
- 3D printing a custom cut alignment tool

Tools needed
- 1x cut alignment tool
- 1x pencil
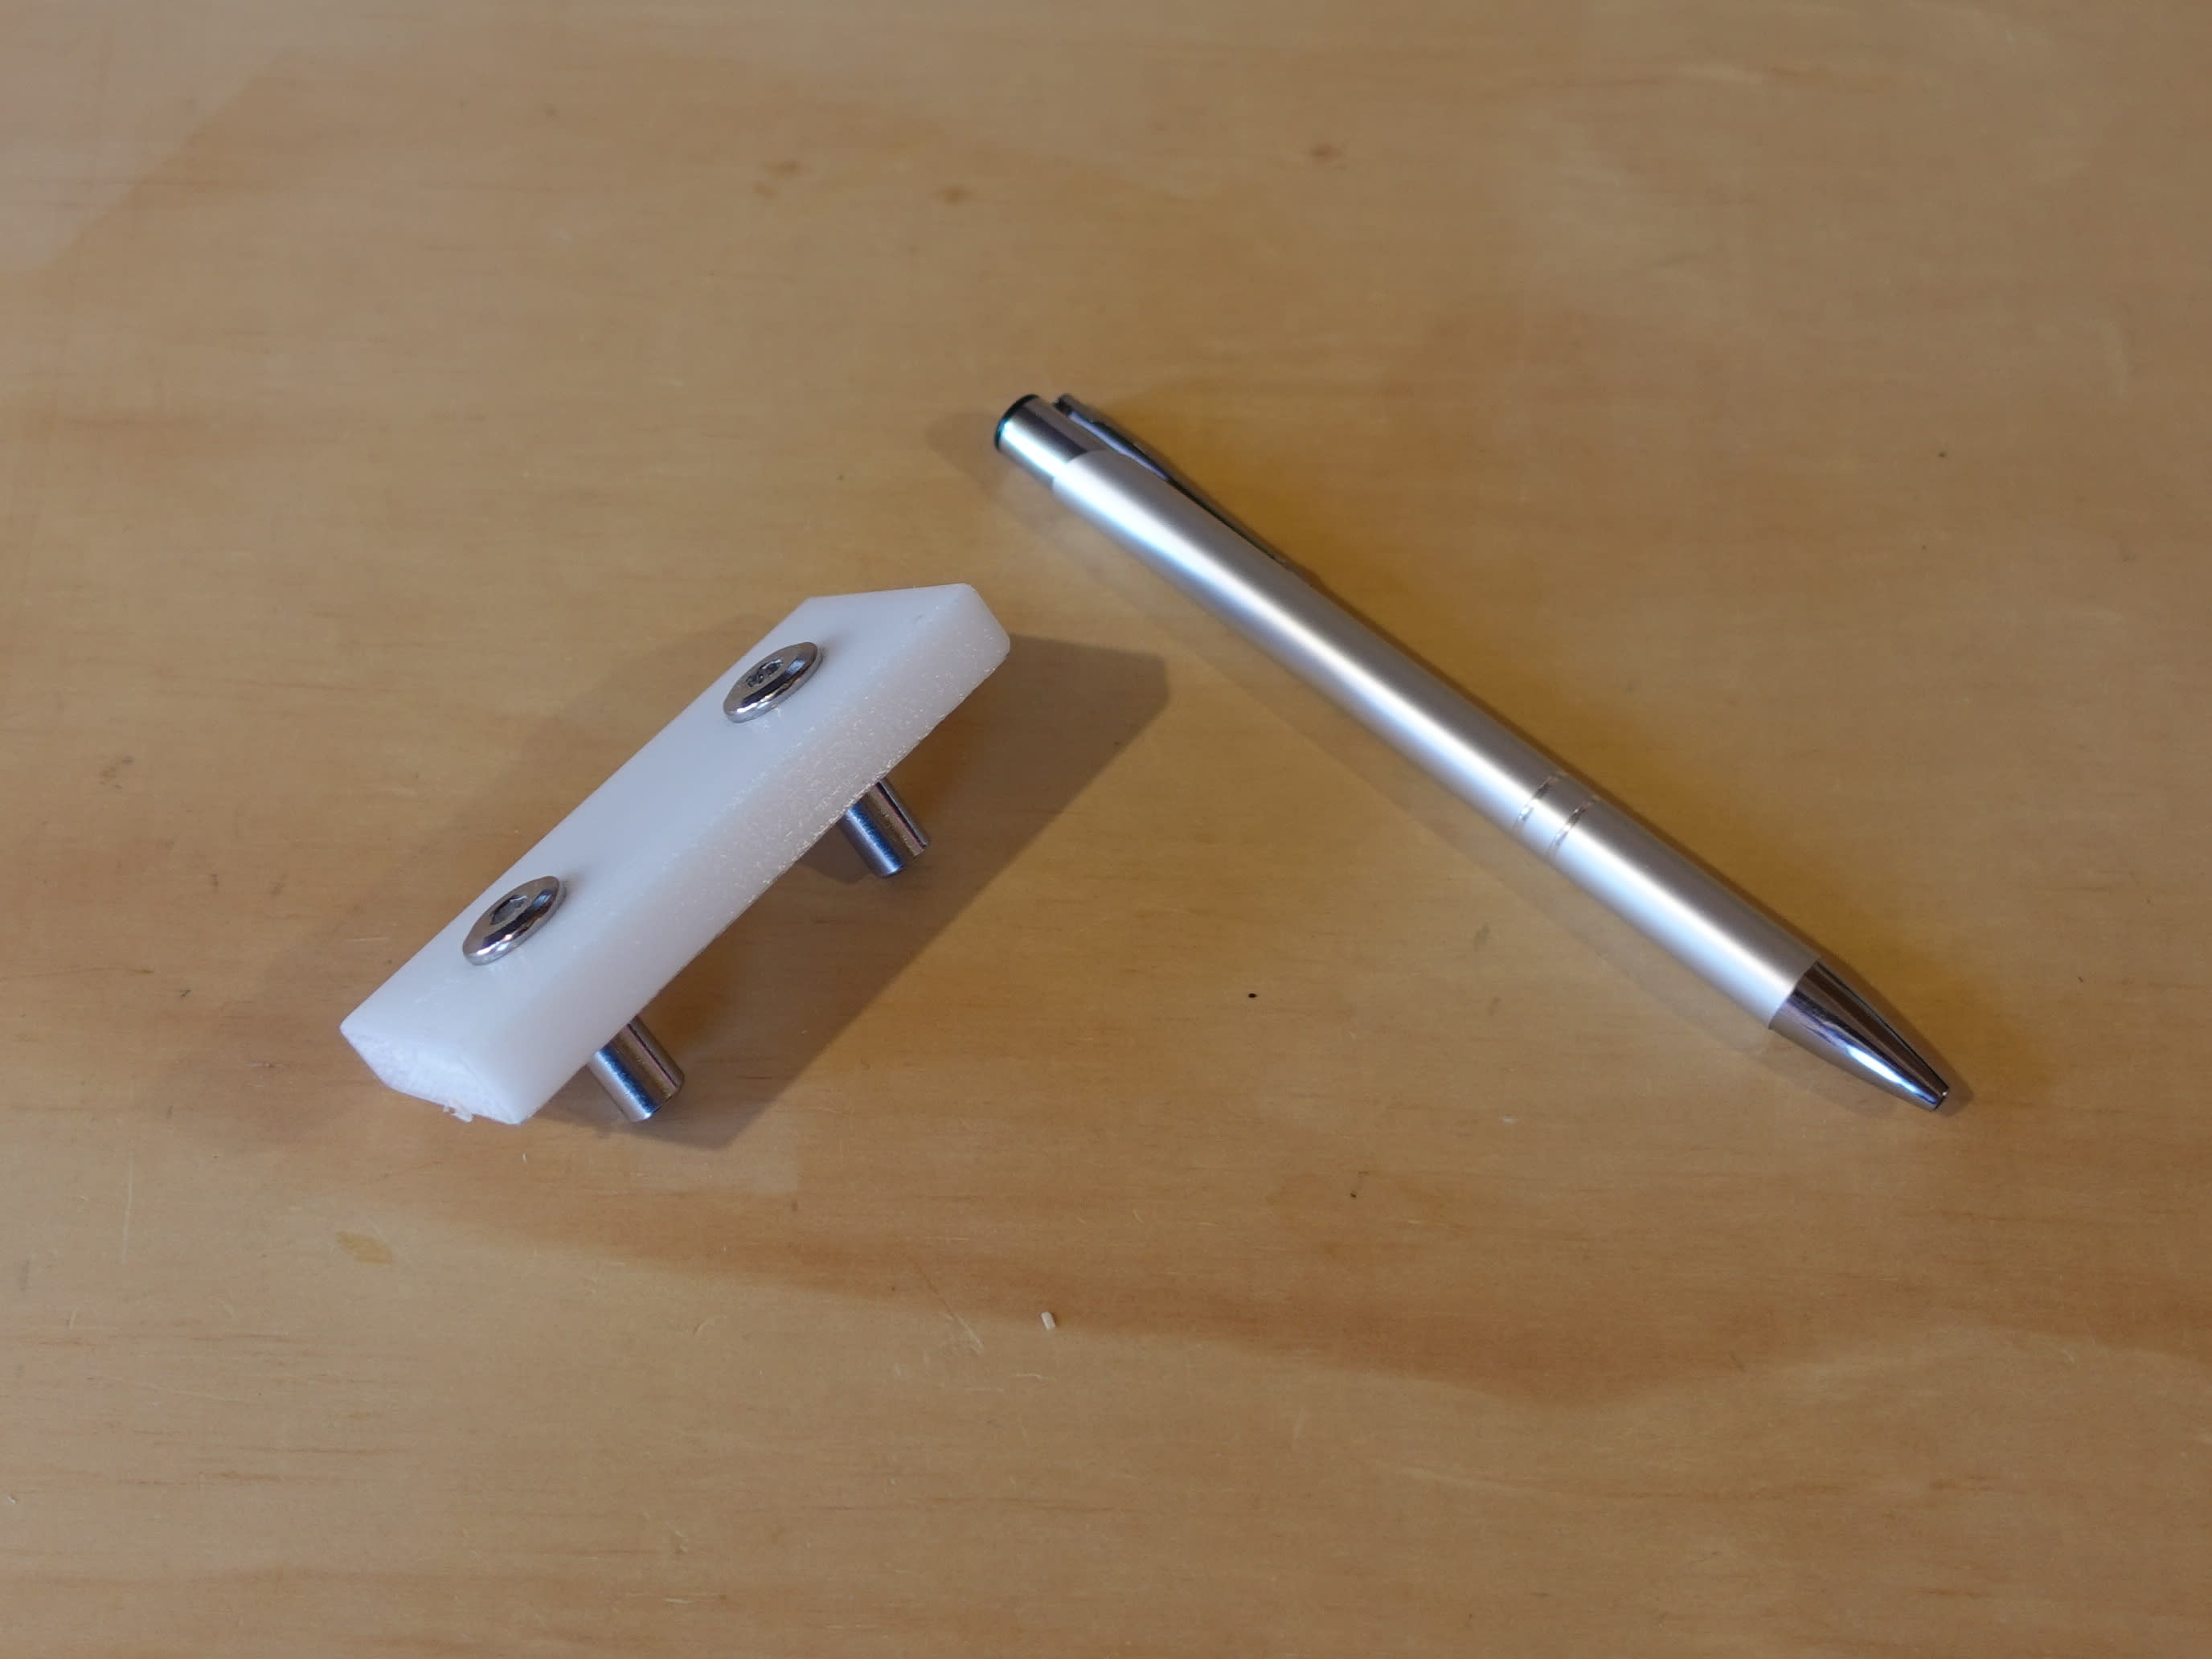
Using the cut alignment tool
The Cut alignment tool is a 2gu x 1gu (80mm x 40mm) piece of 3d printed plastic with two 8mm shafts spaced 40mm from centre to centre. To use the cut alignment tool, insert the metal shafts into a piece of grid beam with the 40mm edge lining up with the point you would like to cut.
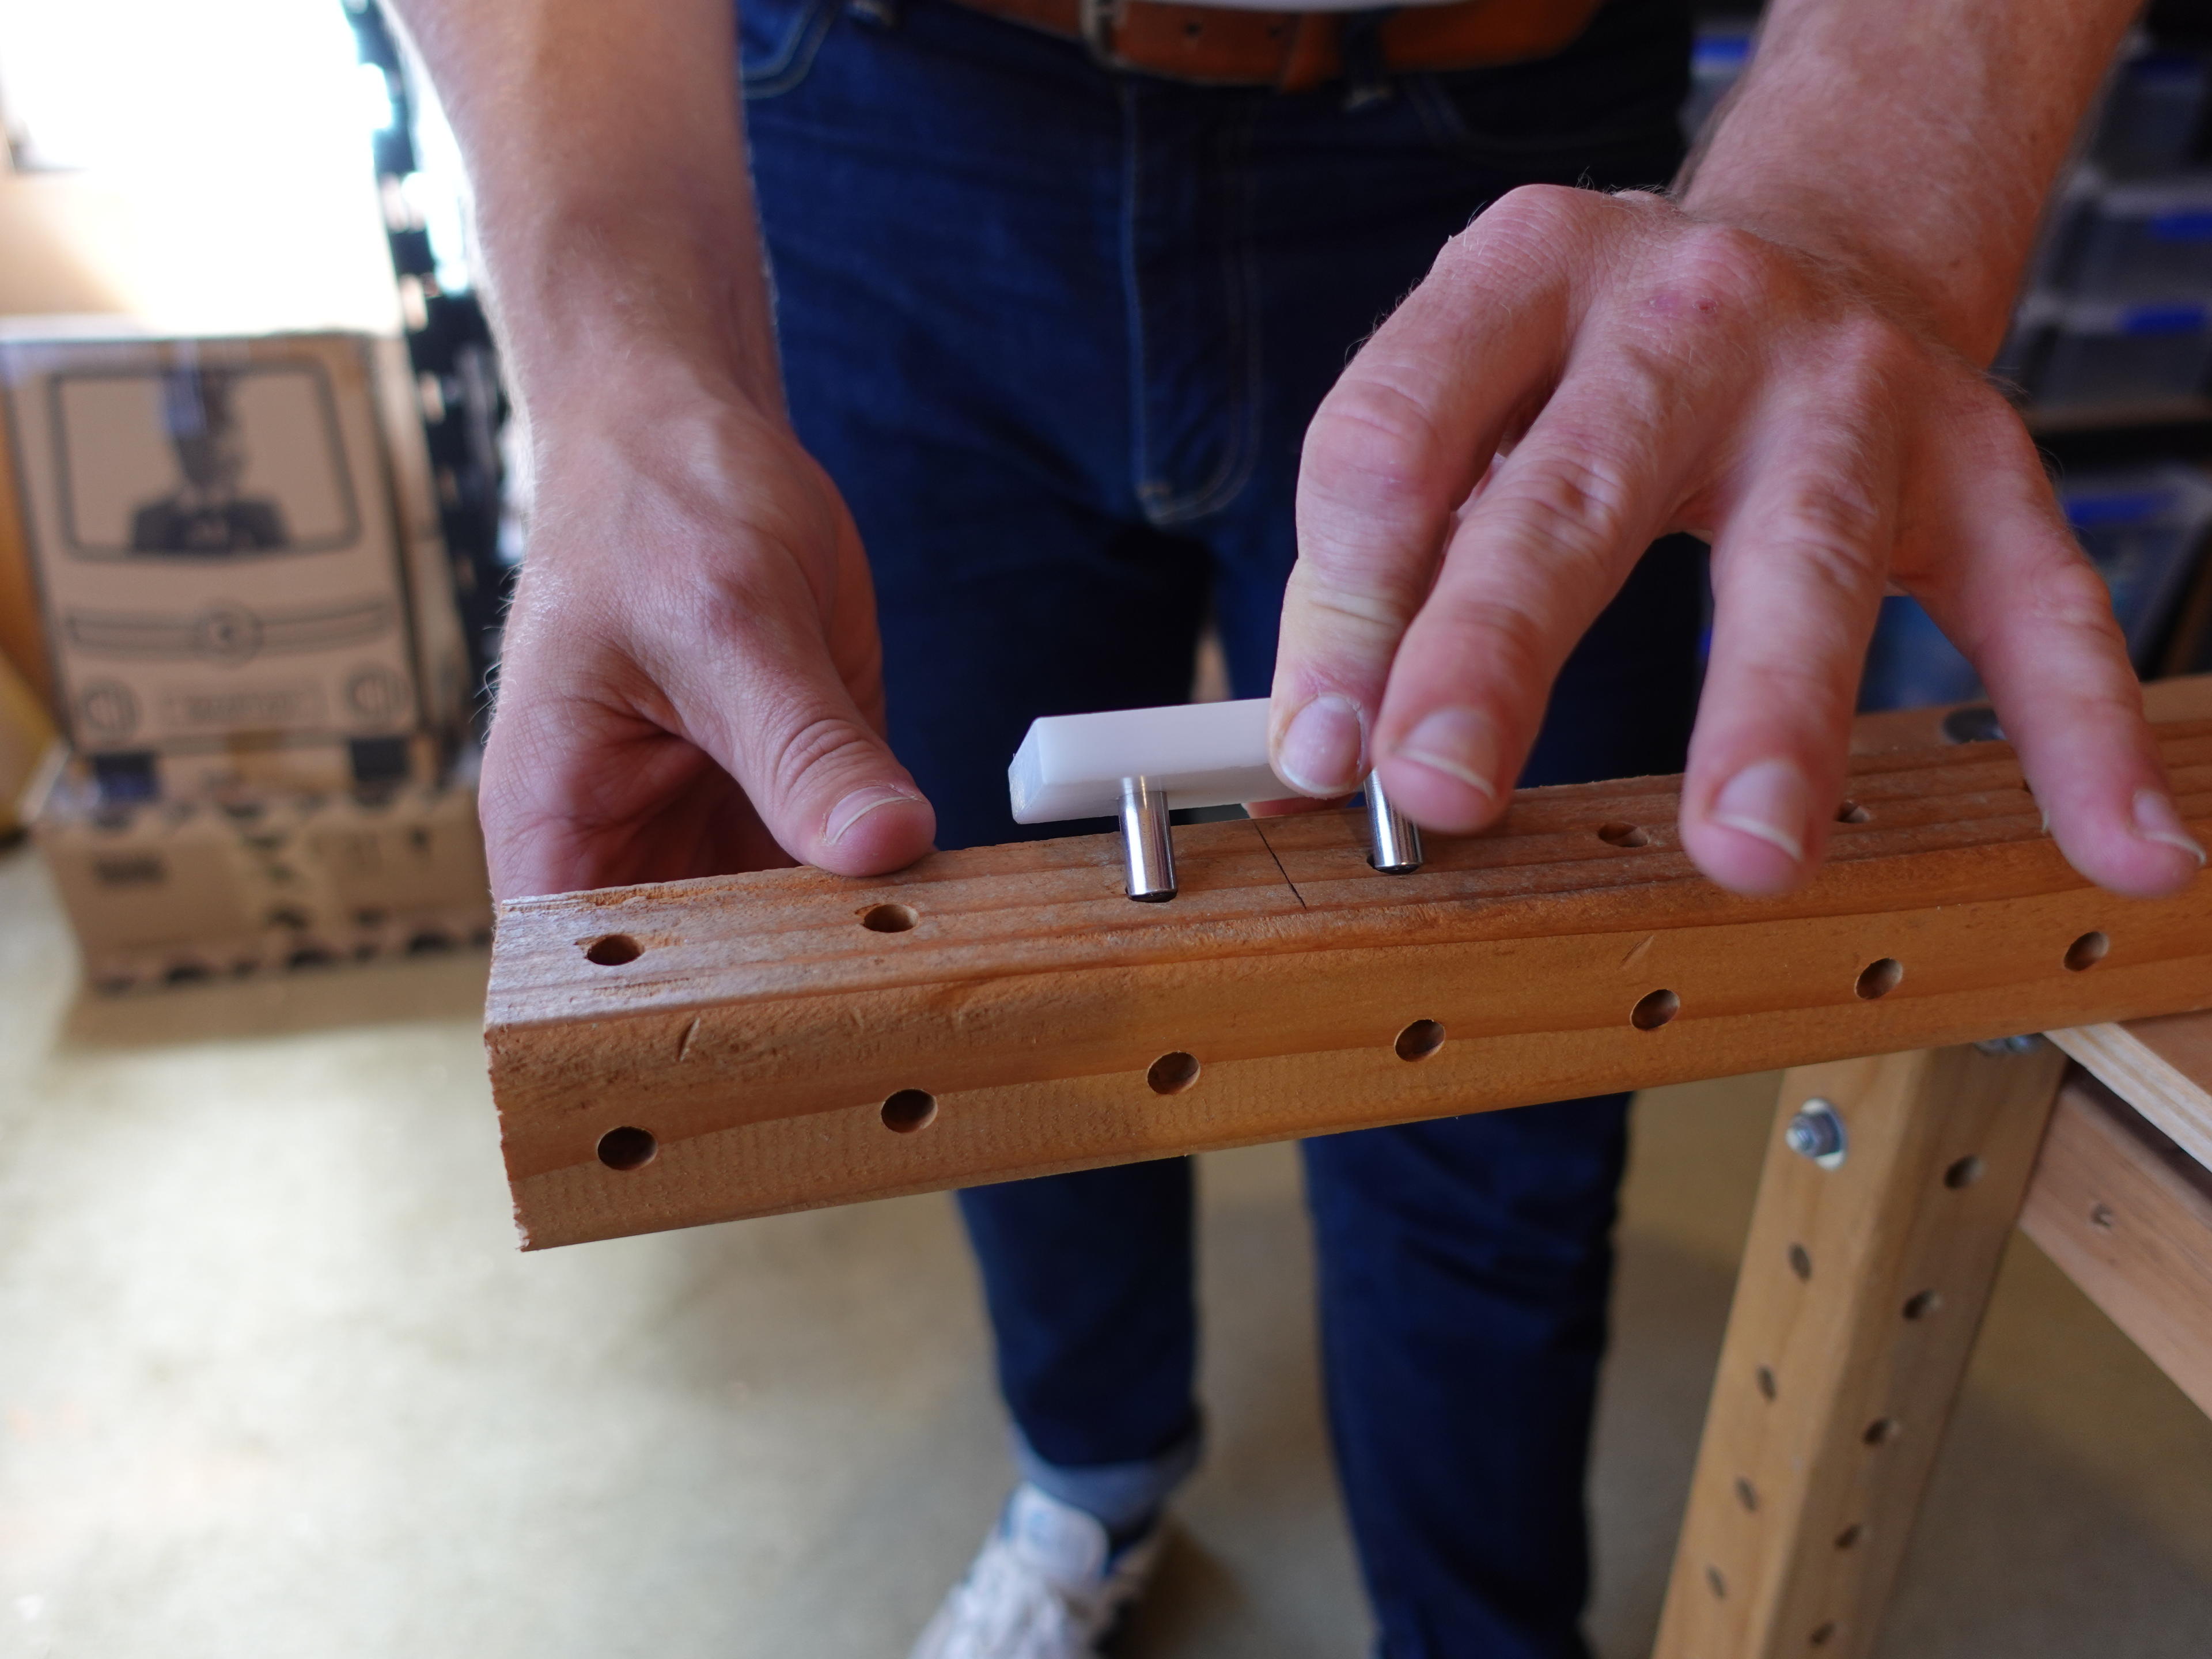
How to mark the beam
Now that you have inserted the cut alignment tool, use a pencil to trace the edge where the cut should be.
Now that you have marked your grid beam, count the number of grid units before the cut line to make sure it is the right number before continuing.

After tracing the first side, rotate the beam 90 degrees and re-insert the cut alignment tool, check your edge is aligned with your previous pencil mark, and use your pencil to mark another line. Continue this process until you have a line all the way around your beam, once you get the hang of marking and cutting beams, you can reduce to drawing cut lines on just two adjoining sides.

Tools needed
- 1x hand saw
- Worksurface
Prep your workspace
When getting ready to cut beams with a handsaw, you need to prep your space for a good cut. The main two things your space will need are a cutting surface below waist height and enough space to accommodate the beam.
Cutting surface height is important because making your cut with the right body position will greatly improve the quality of your cuts. This can look like a low table or cart.

Or a few pieces of timber on the floor. Be careful that your saw won't scratch the floor or the table.
If you are outside, space will likely not be an issue, but if you are indoors, make sure to set up your workspace so there is enough space from either side of your cut to accommodate the beam.

Aligning the cut
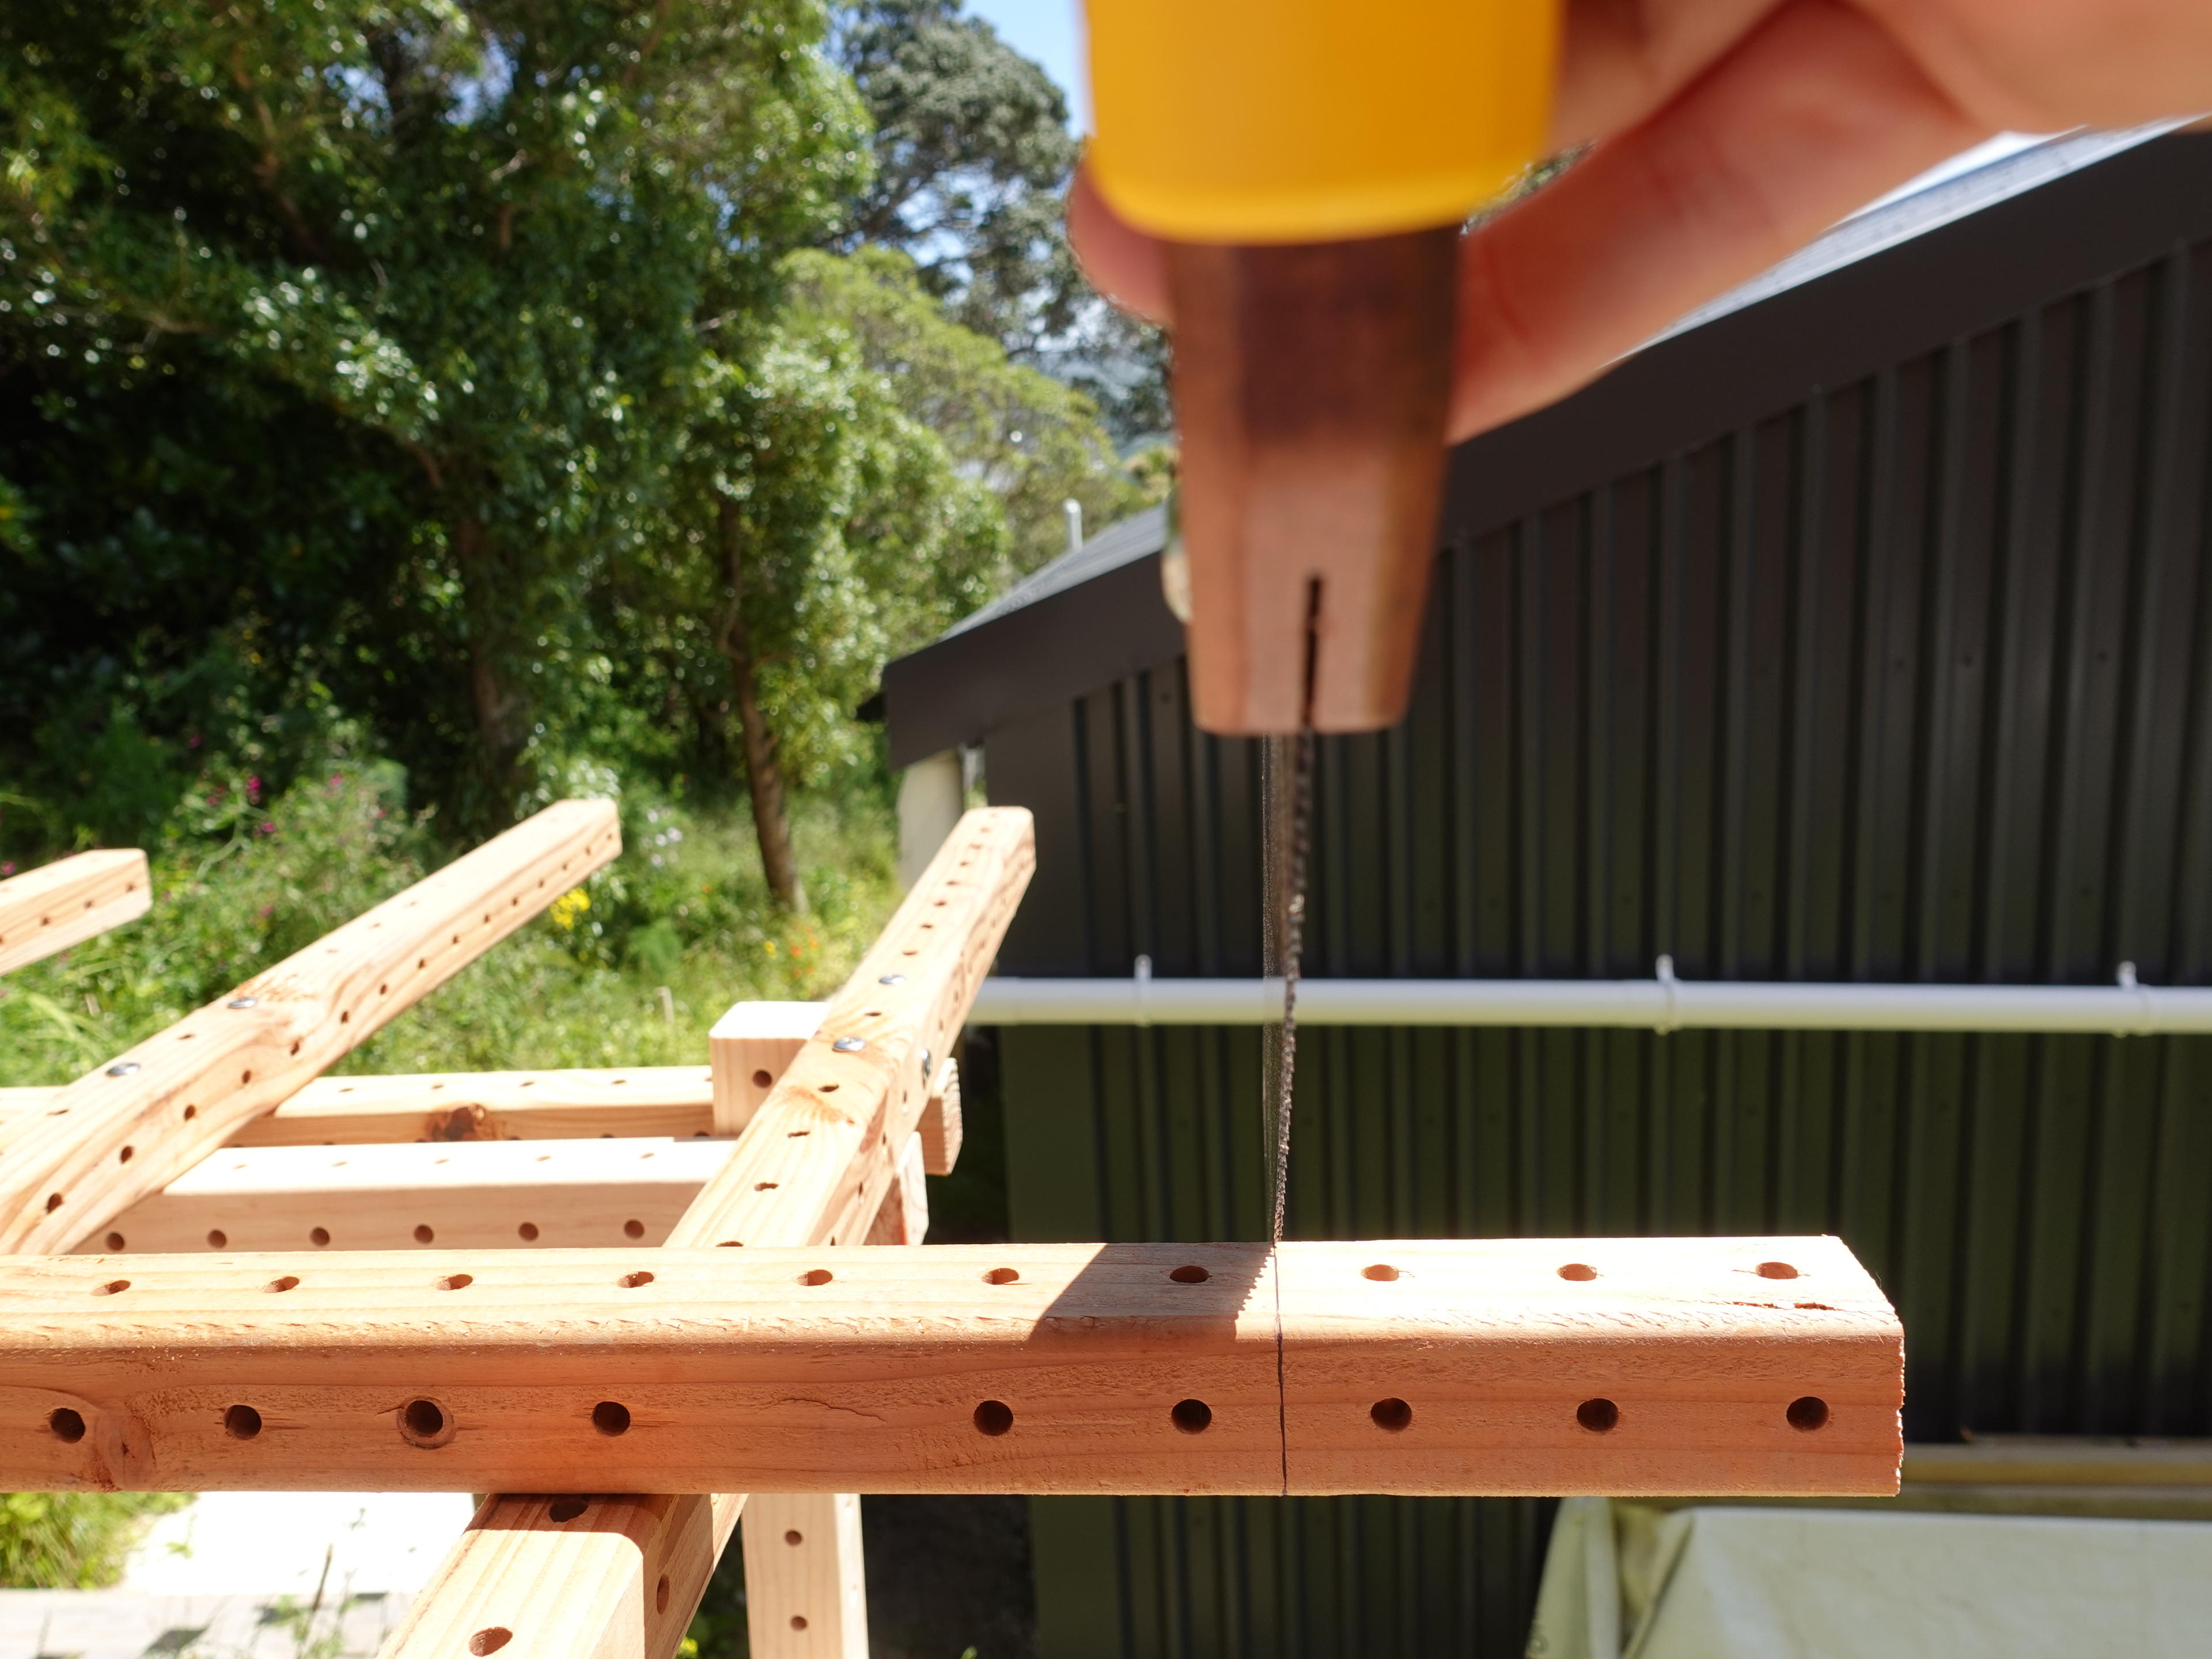
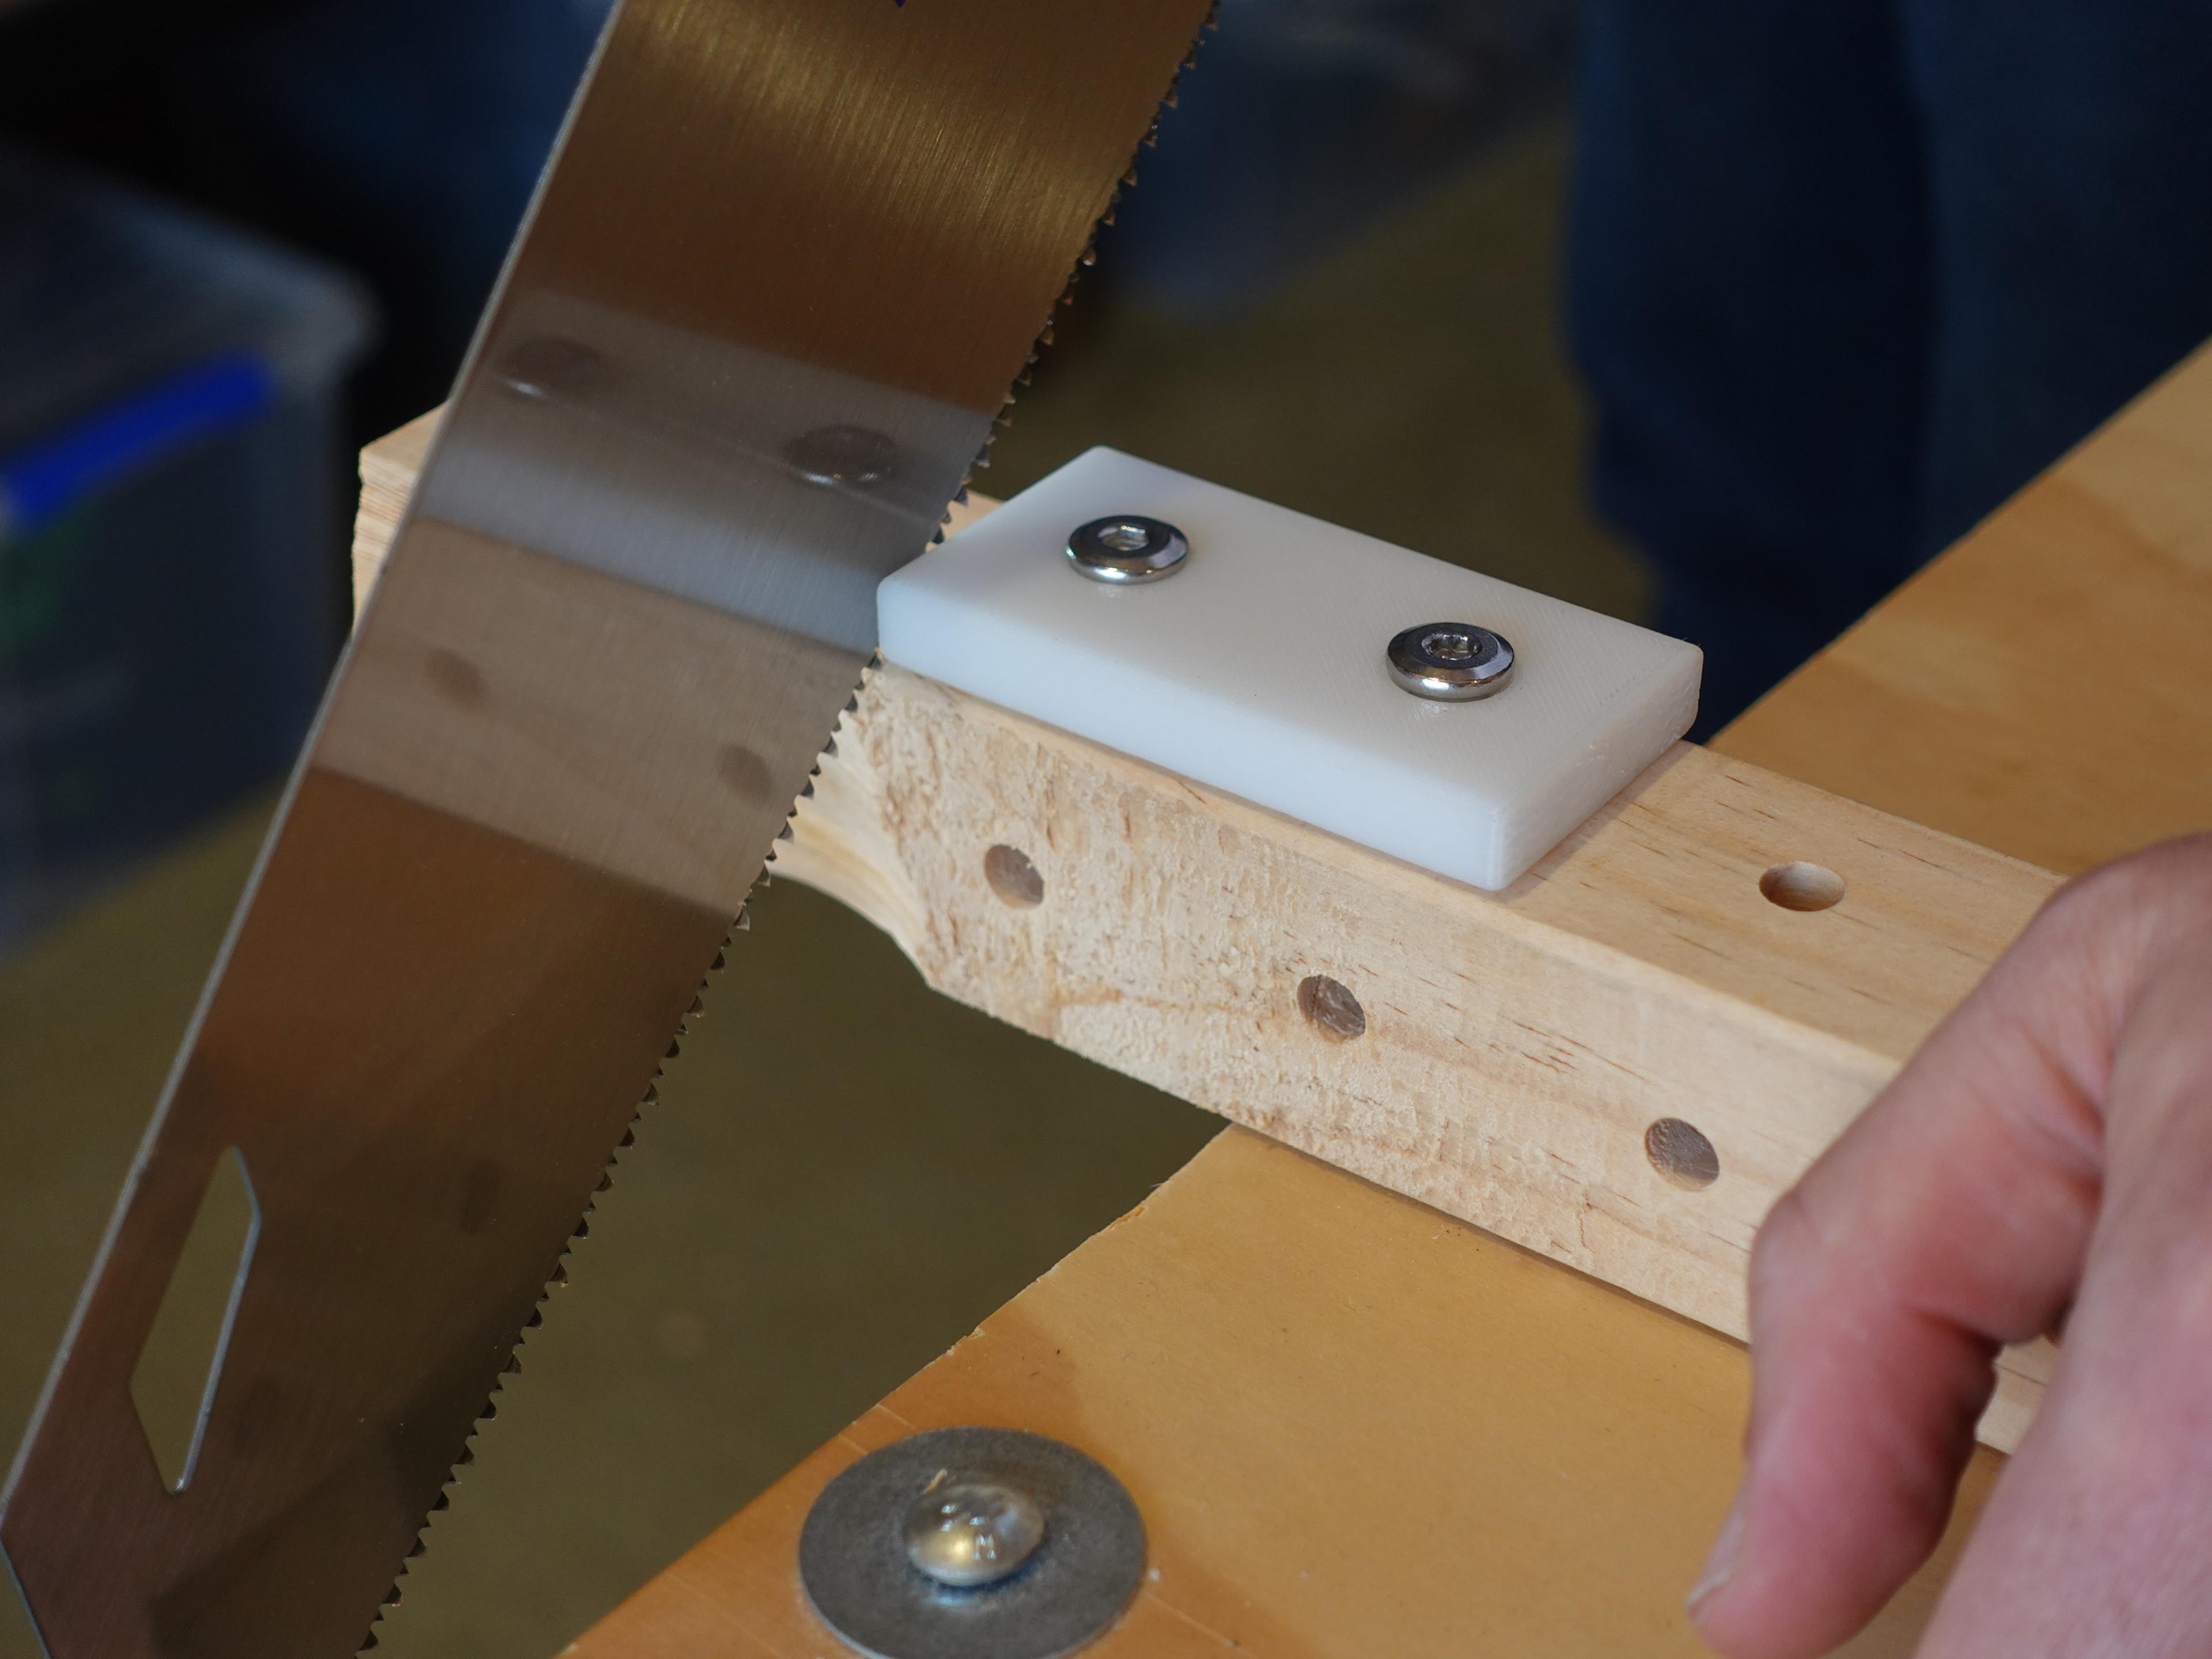
When getting ready to cut, centre your saw blade on the cut line to split the blade’s thickness between the pieces.
When starting your cut, cut the timber at a downward angle. This is the best position for cutting with a handsaw.
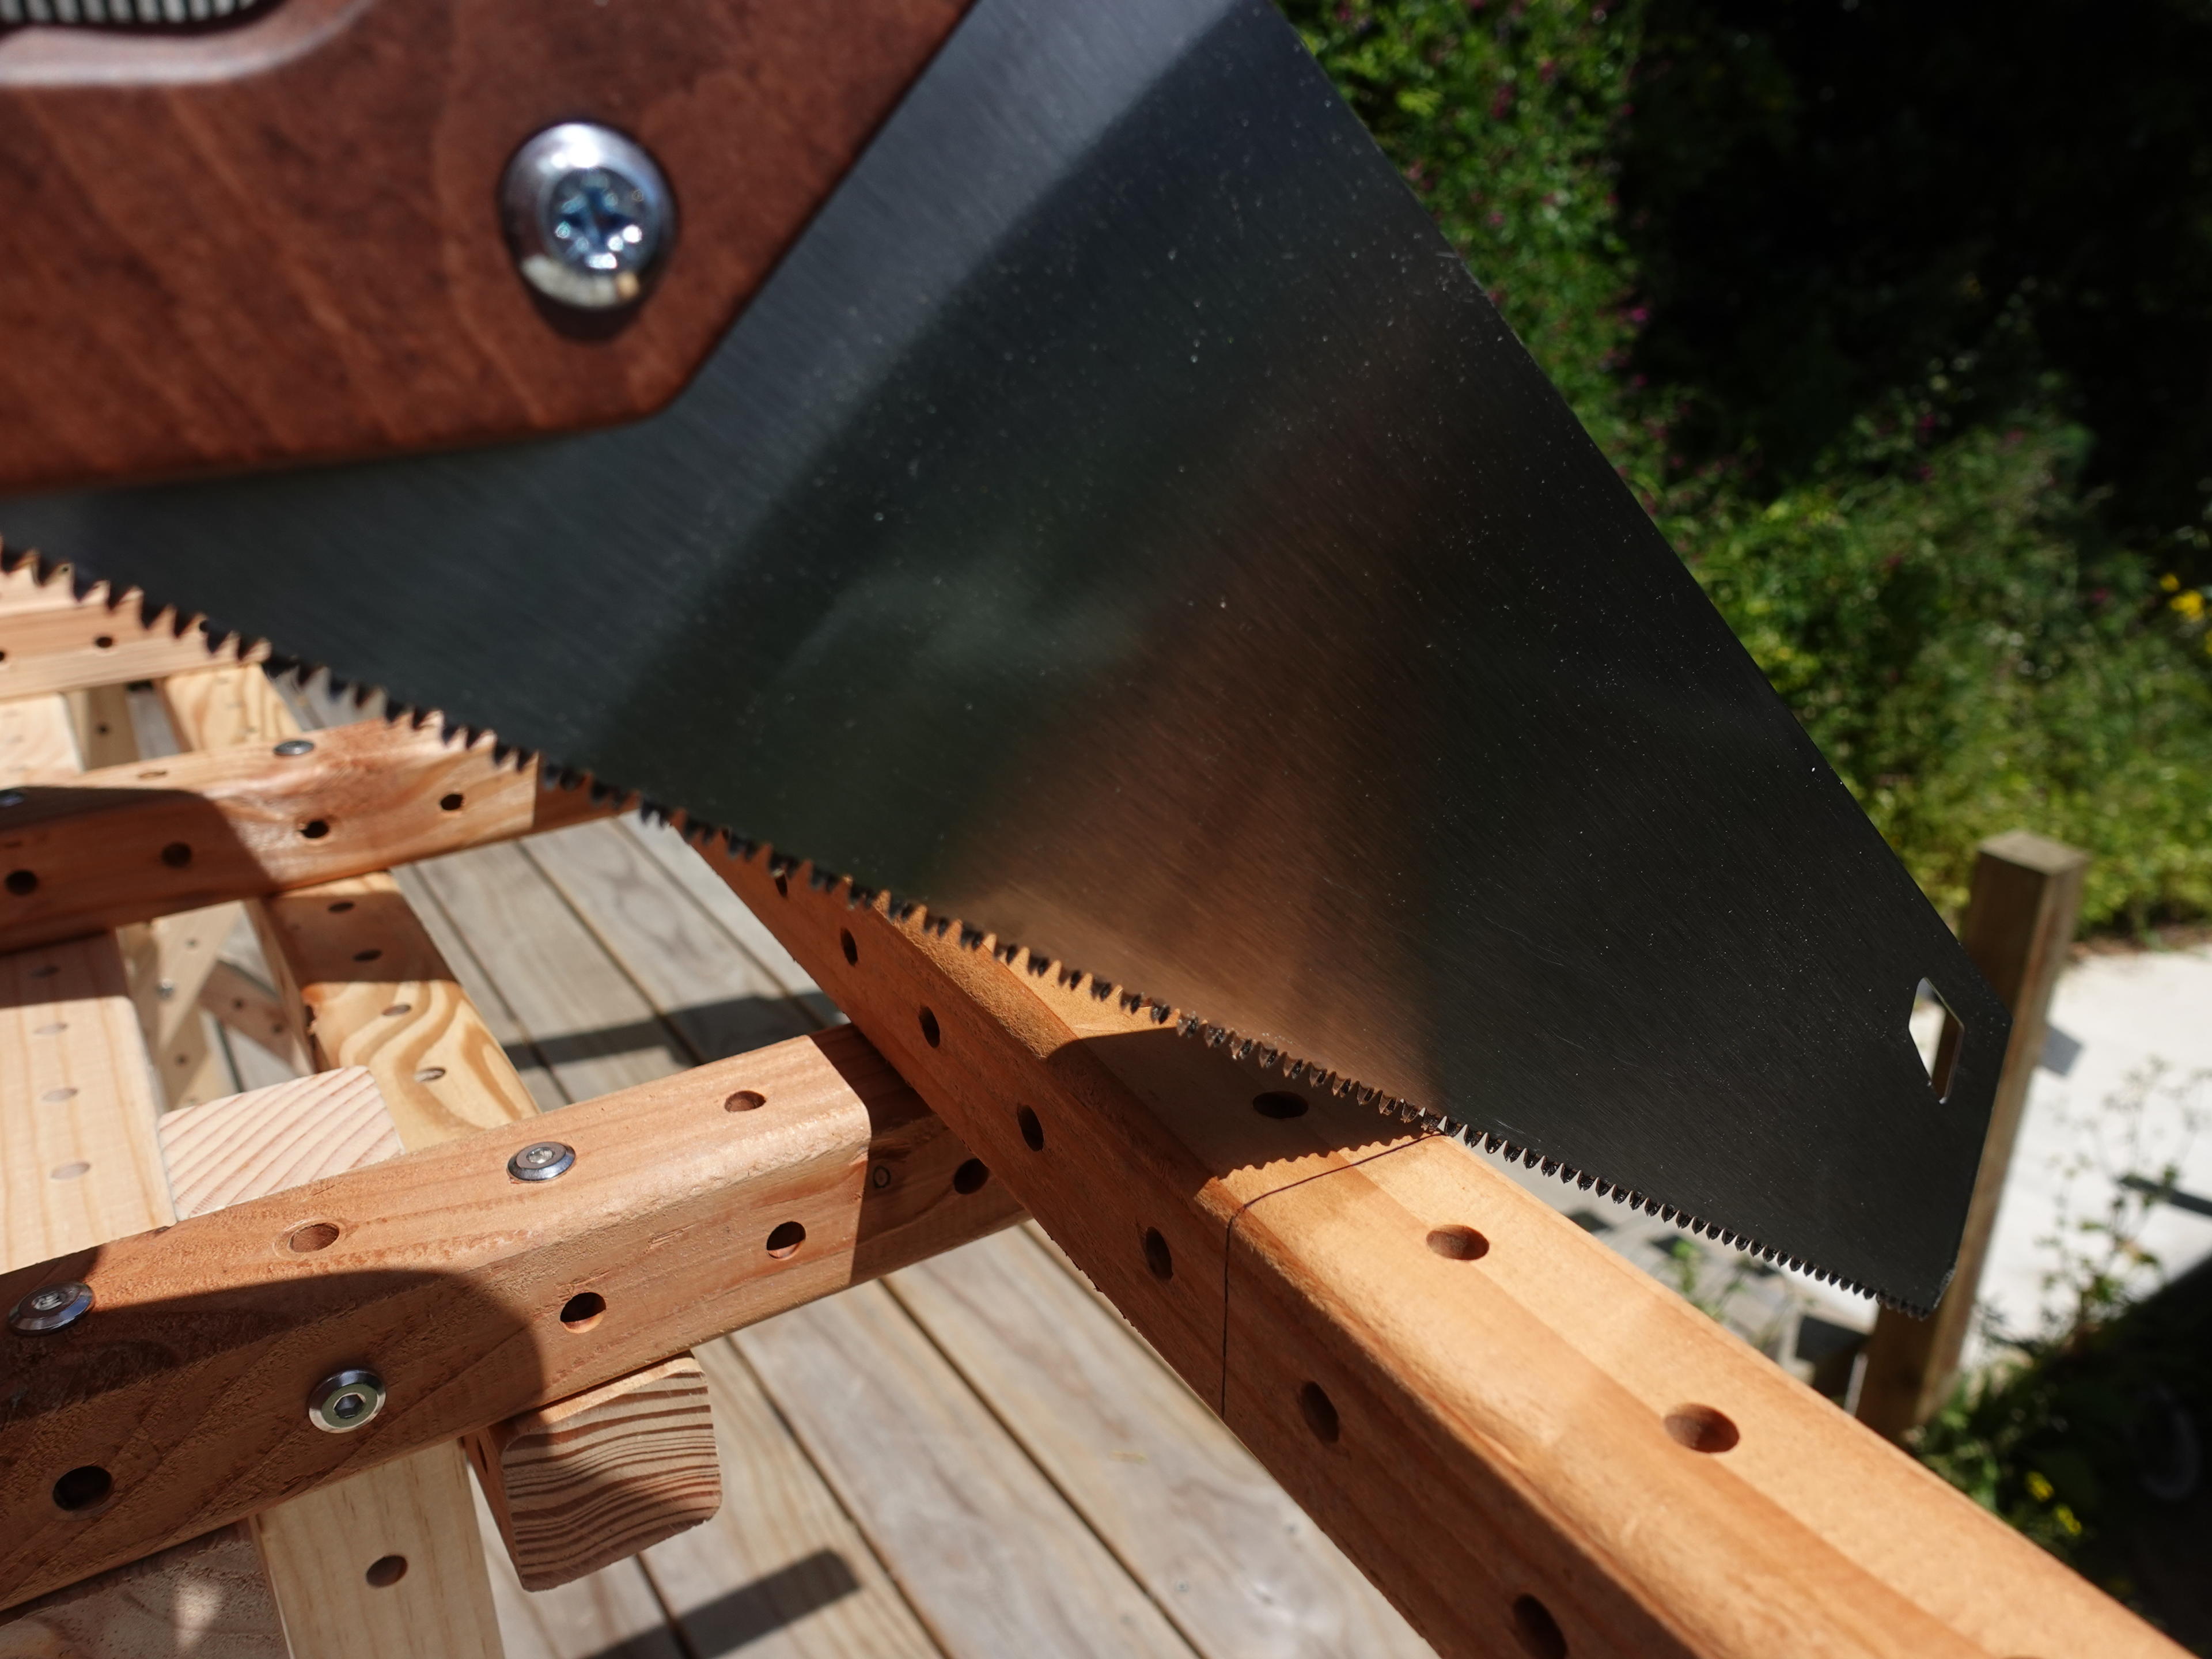
Sawing
Now it’s time to start cutting. Pull the saw back and forth to get the cut started on the corner of the beam.
Tips:
- Use a sharp saw.
- Let the saw do the work; bearing down too hard may cause your cut to go off course.
- The first 8-10 strokes of the saw blade will guide the rest of the cut. Be patient and ensure that those first strokes of the saw are on your cut lines.
- We recommend using the same saw for all of your cuts to ensure there is a uniform kerf (explained below) on all of your pieces.
The first few strokes are very important. Make sure to continually check during the first 8-10 strokes to ensure the cut is on the line. Once you are confident the blade is tracking down the line on the top and side, the blade will guide itself the rest of the way through the cut. Remember not to bear down when cutting; just let the saw do the work.

What is blade kerf
Blade kerf refers to the thickness of the cut made by a saw blade as it passes through material.
How to measure your saw’s kerf
If your saw is new, it may have the kerf size on the product label. If not, the best way to measure the kerf of a saw blade is to use calipers.
When you place the calipers on the saw blade, make sure to hold the flat part of the outside jaws against the teeth of the blade. This is important as the blade is skinnier than the teeth, and the teeth typically protrude in both directions, so it is important that you have several teeth in the jaws for a more accurate measurement.

3D printing a custom cut alignment tool
Once you know the kerf size of your saw blade, you can 3D print a custom cut alignment tool that accounts for the width of the blade you are using.
We have an open-source CAD model made in Replicad that you can customize, or if preferred, you can make your own from scratch.
If you are new to 3D printing or want to learn more, check out r/3Dprinting's "Getting Started" guide or a video playlist on "3D printing basics".

See source code here.
To change the kerf size, locate the variable labelled “cutterKerfInMm”. If the size of your saw blade’s kerf is not 2.5mm, update the number to match the size of your saw blade’s kerf. This will update the 3D model to meet your requirements.
Once you’ve updated the kerf size to match your saw blade, download the model in the format needed for your 3D printing slicer.

Now we import the custom cut alignment tool model to our printer's slicer program.
Next we start our print and wait!

Now, when we place the custom cut alignment tool we can see that the piece is offset from the standard cut alignment tool line.

This is great because it means we can use the custom cut alignment tool to guide our saw blade when we start cutting, and the kerf is perfectly split between the two pieces.
For further tips, advice, and inspiration, visit the Grid Kit discussion board.