A handy guide to get started building with Grid Kit.
Things you'll need
- Grid beams
- Grid panels
- Fasteners
- Hand saw
- Hex key (4mm, we recommend getting two)
- Cutting jig (optional)
- Sandpaper (optional)
- An idea for a creation!
Check out our design catalogue if you're looking for ideas.
1. Planning
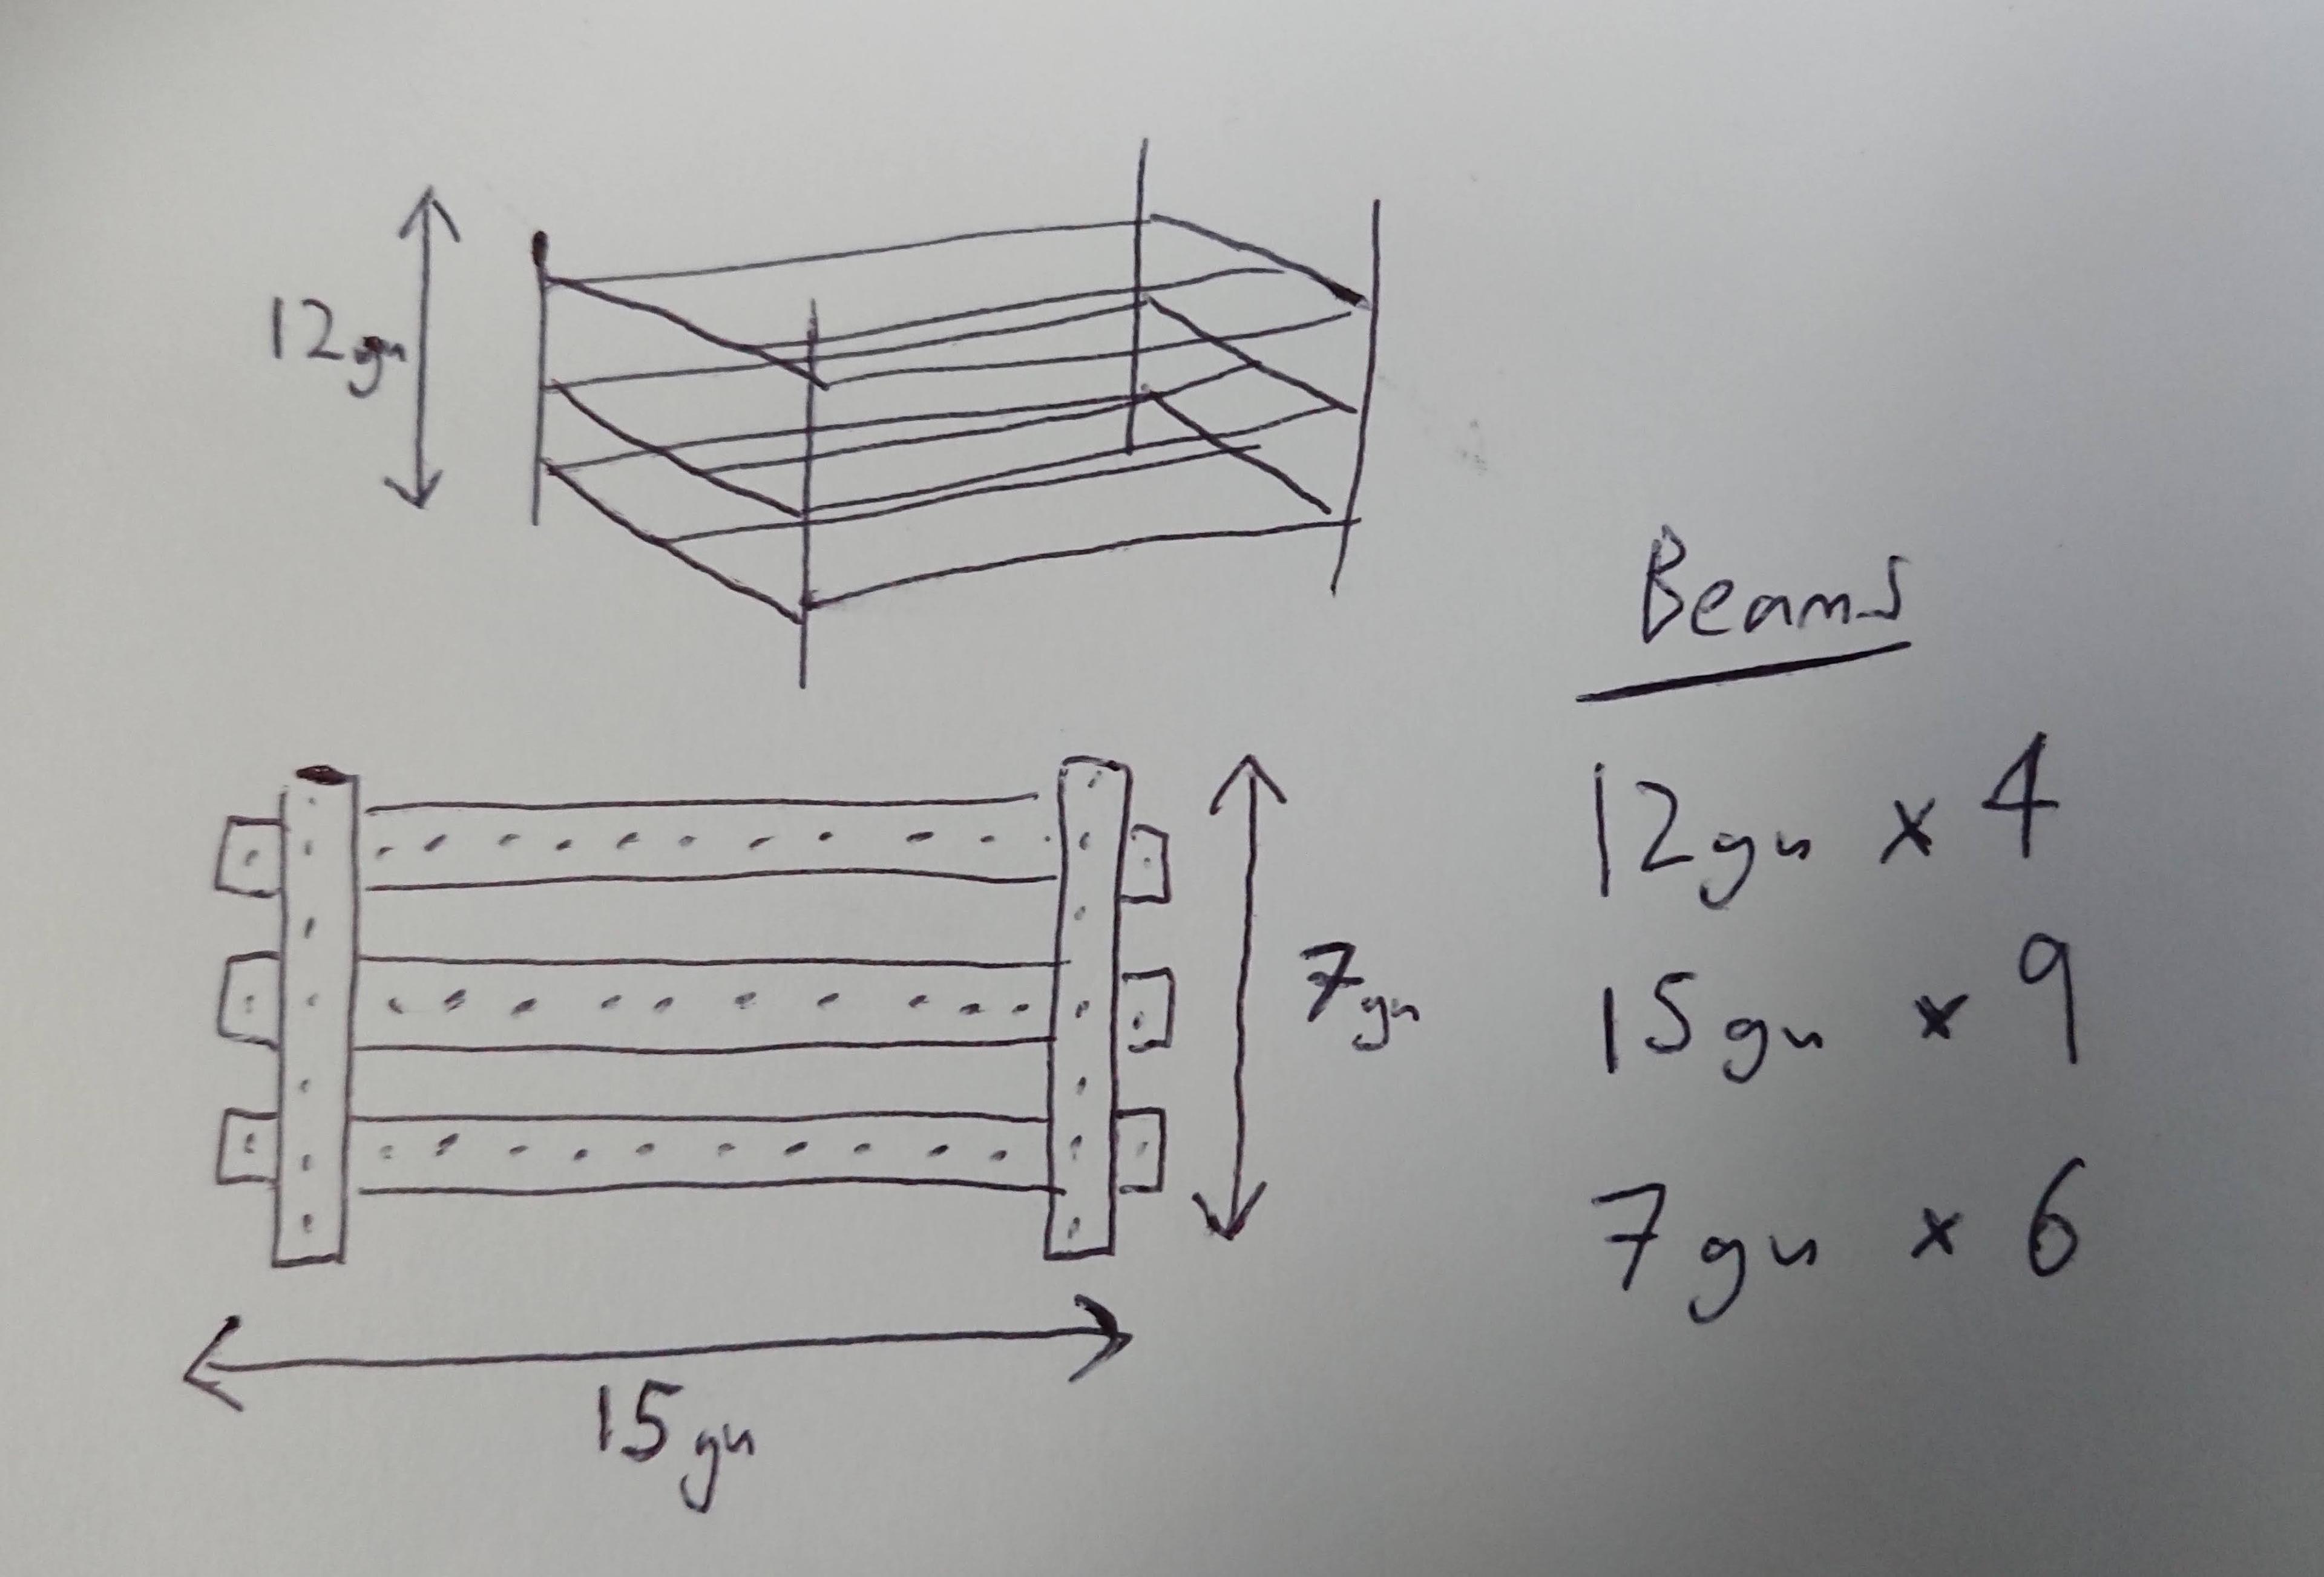
Start with a rough sketch of your idea for a creation.
How many beams and panels do you need and what sizes?
To simplify your design you can specify dimensions in grid units (also known as GU). 1 grid unit is equal to 40mm. For example, a 120mm length would be 3 grid units.
It can be useful to design your creation with repeatable components. For example, a shelf might consist of four upright beams and multiple shelves. Each shelf is the same design, and you can replicate the shelf as many times as you need.
It’s also important to consider the strength of your design. Does it need to support a lot of weight? Unsupported beams will easily bend without vertical support.
2. Counting
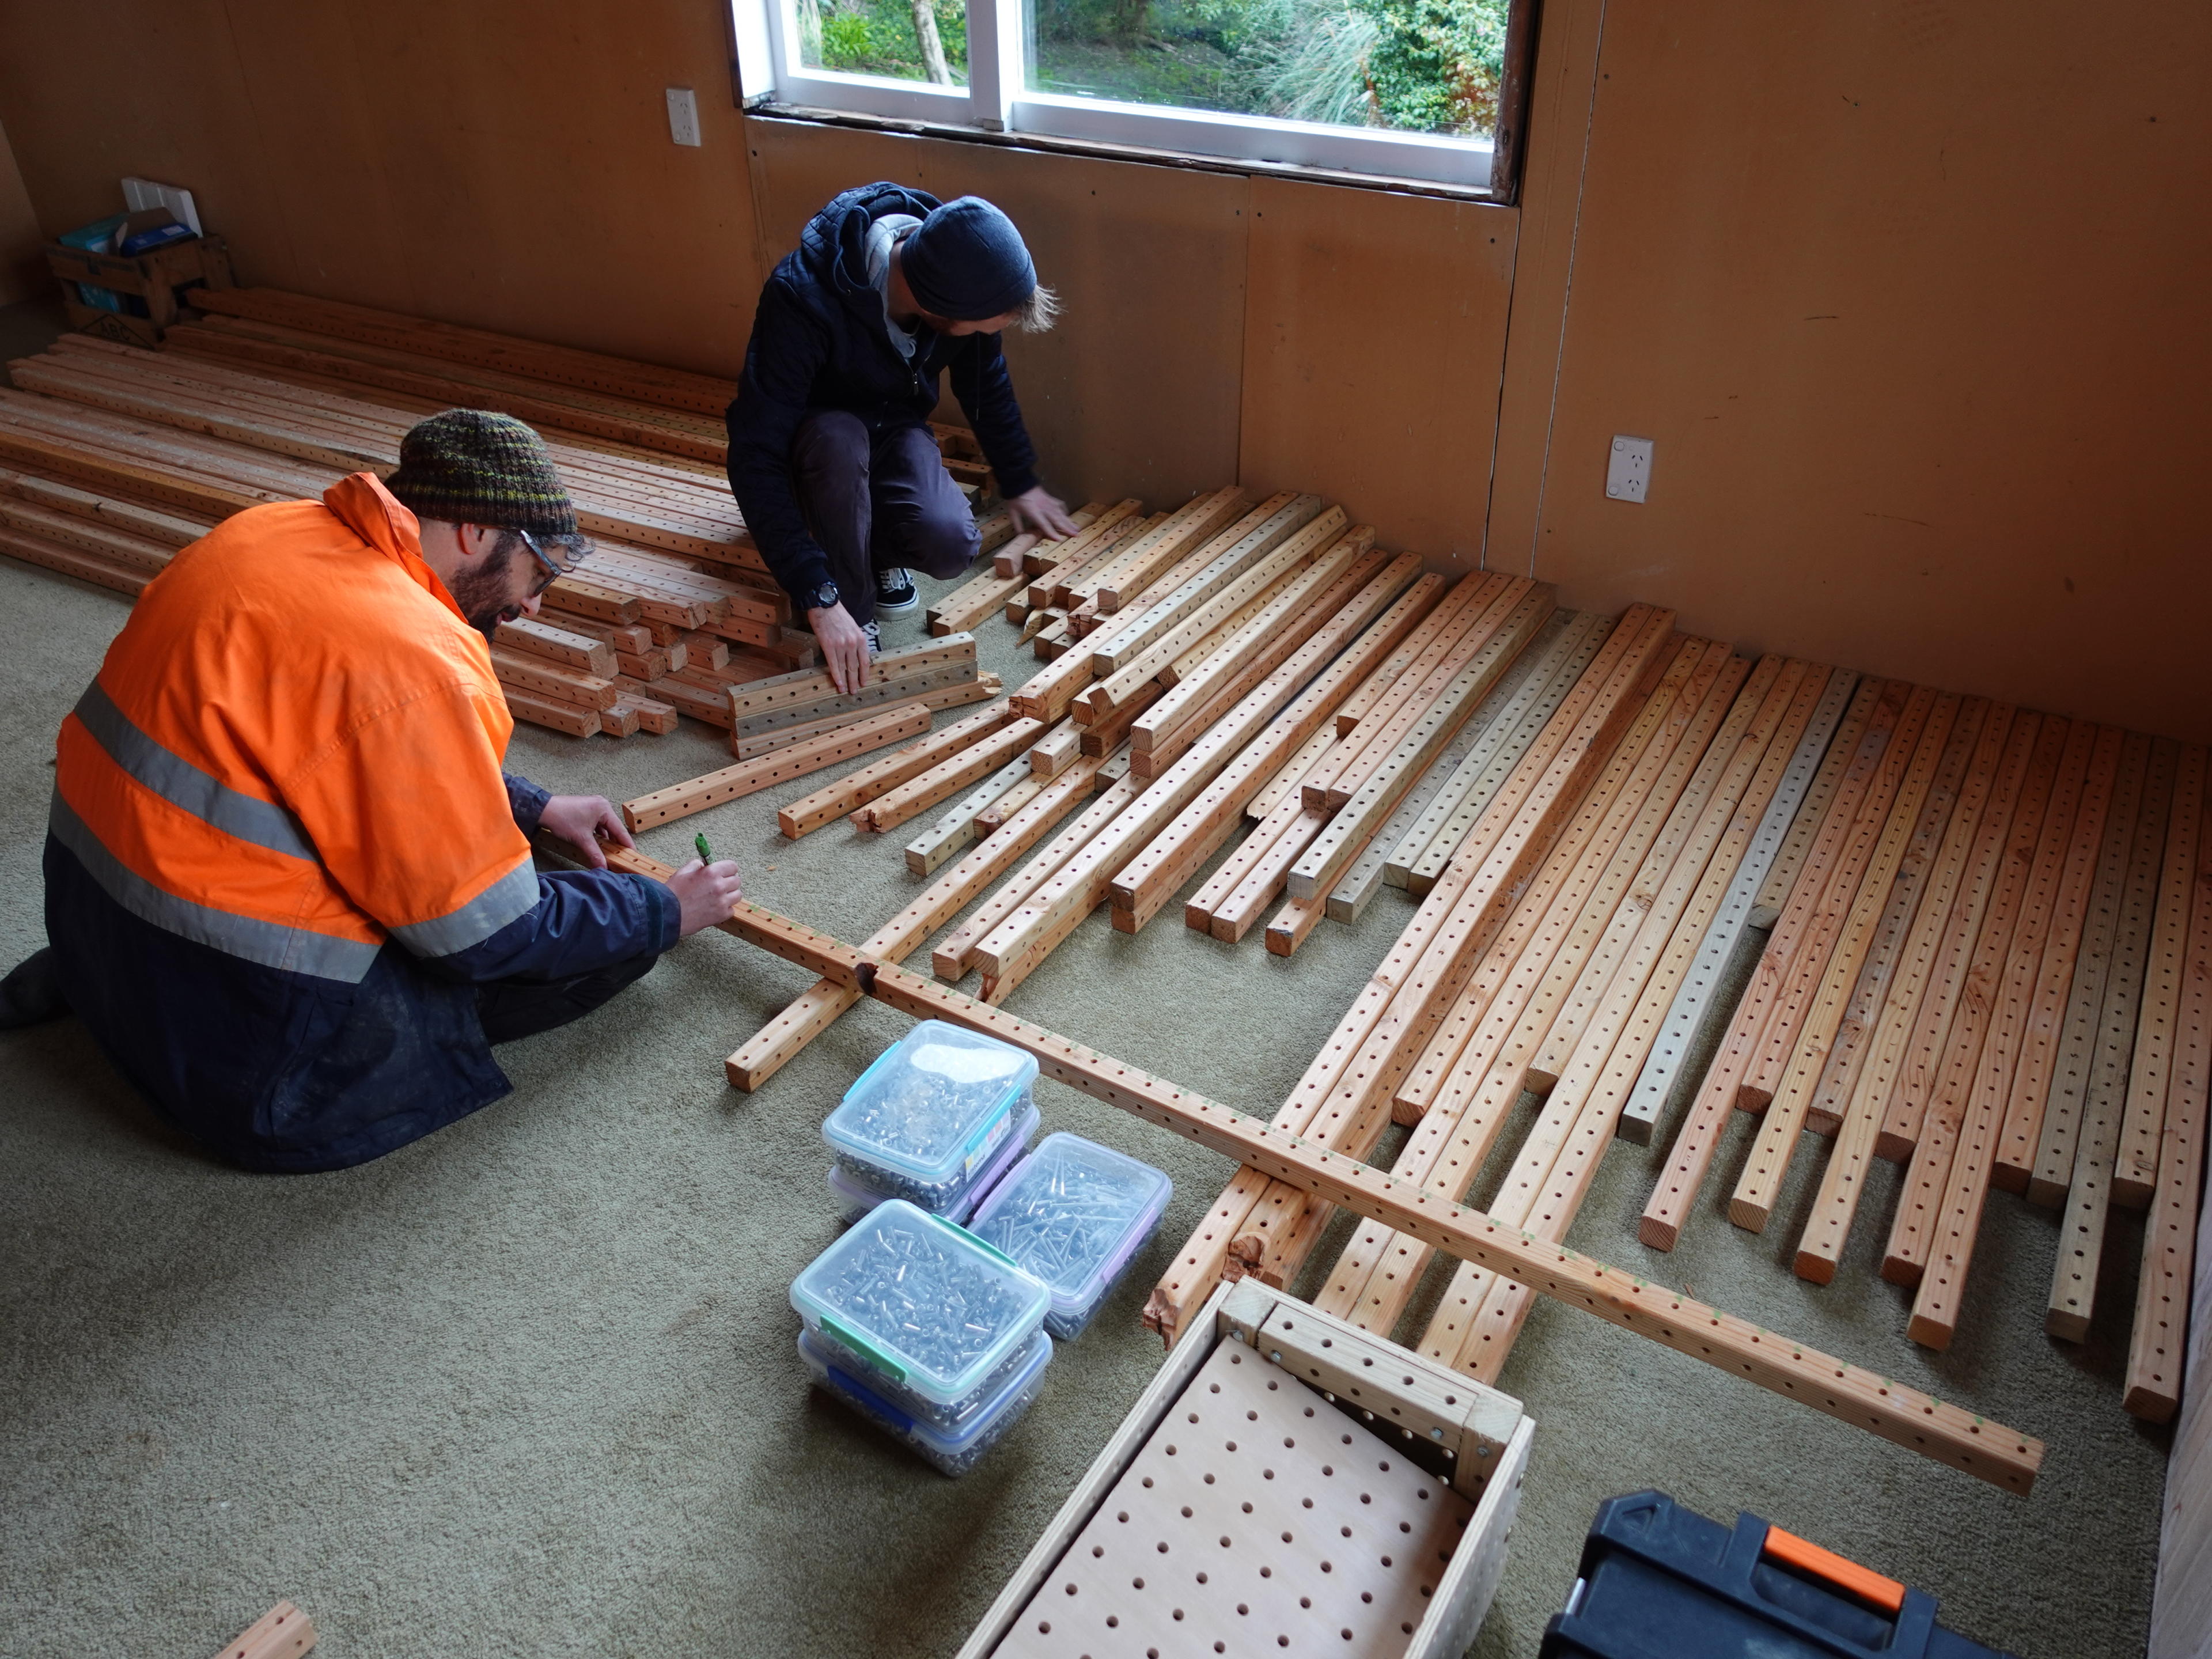
With a design in mind, you will need to cut beams and panels to size.
You can measure out your beams by counting the number of holes. Each hole is one grid unit. A full-length grid beam is 60 grid units long.
Check to see if you already have beams of the desired length to save cutting more than you need.
When measuring a larger beam to cut into smaller beams, make a mark exactly between the holes. For example, cutting a 20 grid unit beam into two 10 grid unit beams would require a cut exactly between the 10th and 11th hole.
When measuring a panel you will need to mark out both the desired width and height.
If you’re having trouble deciding what lengths to use, remember you can always cut beams to be shorter later.
3. Cutting
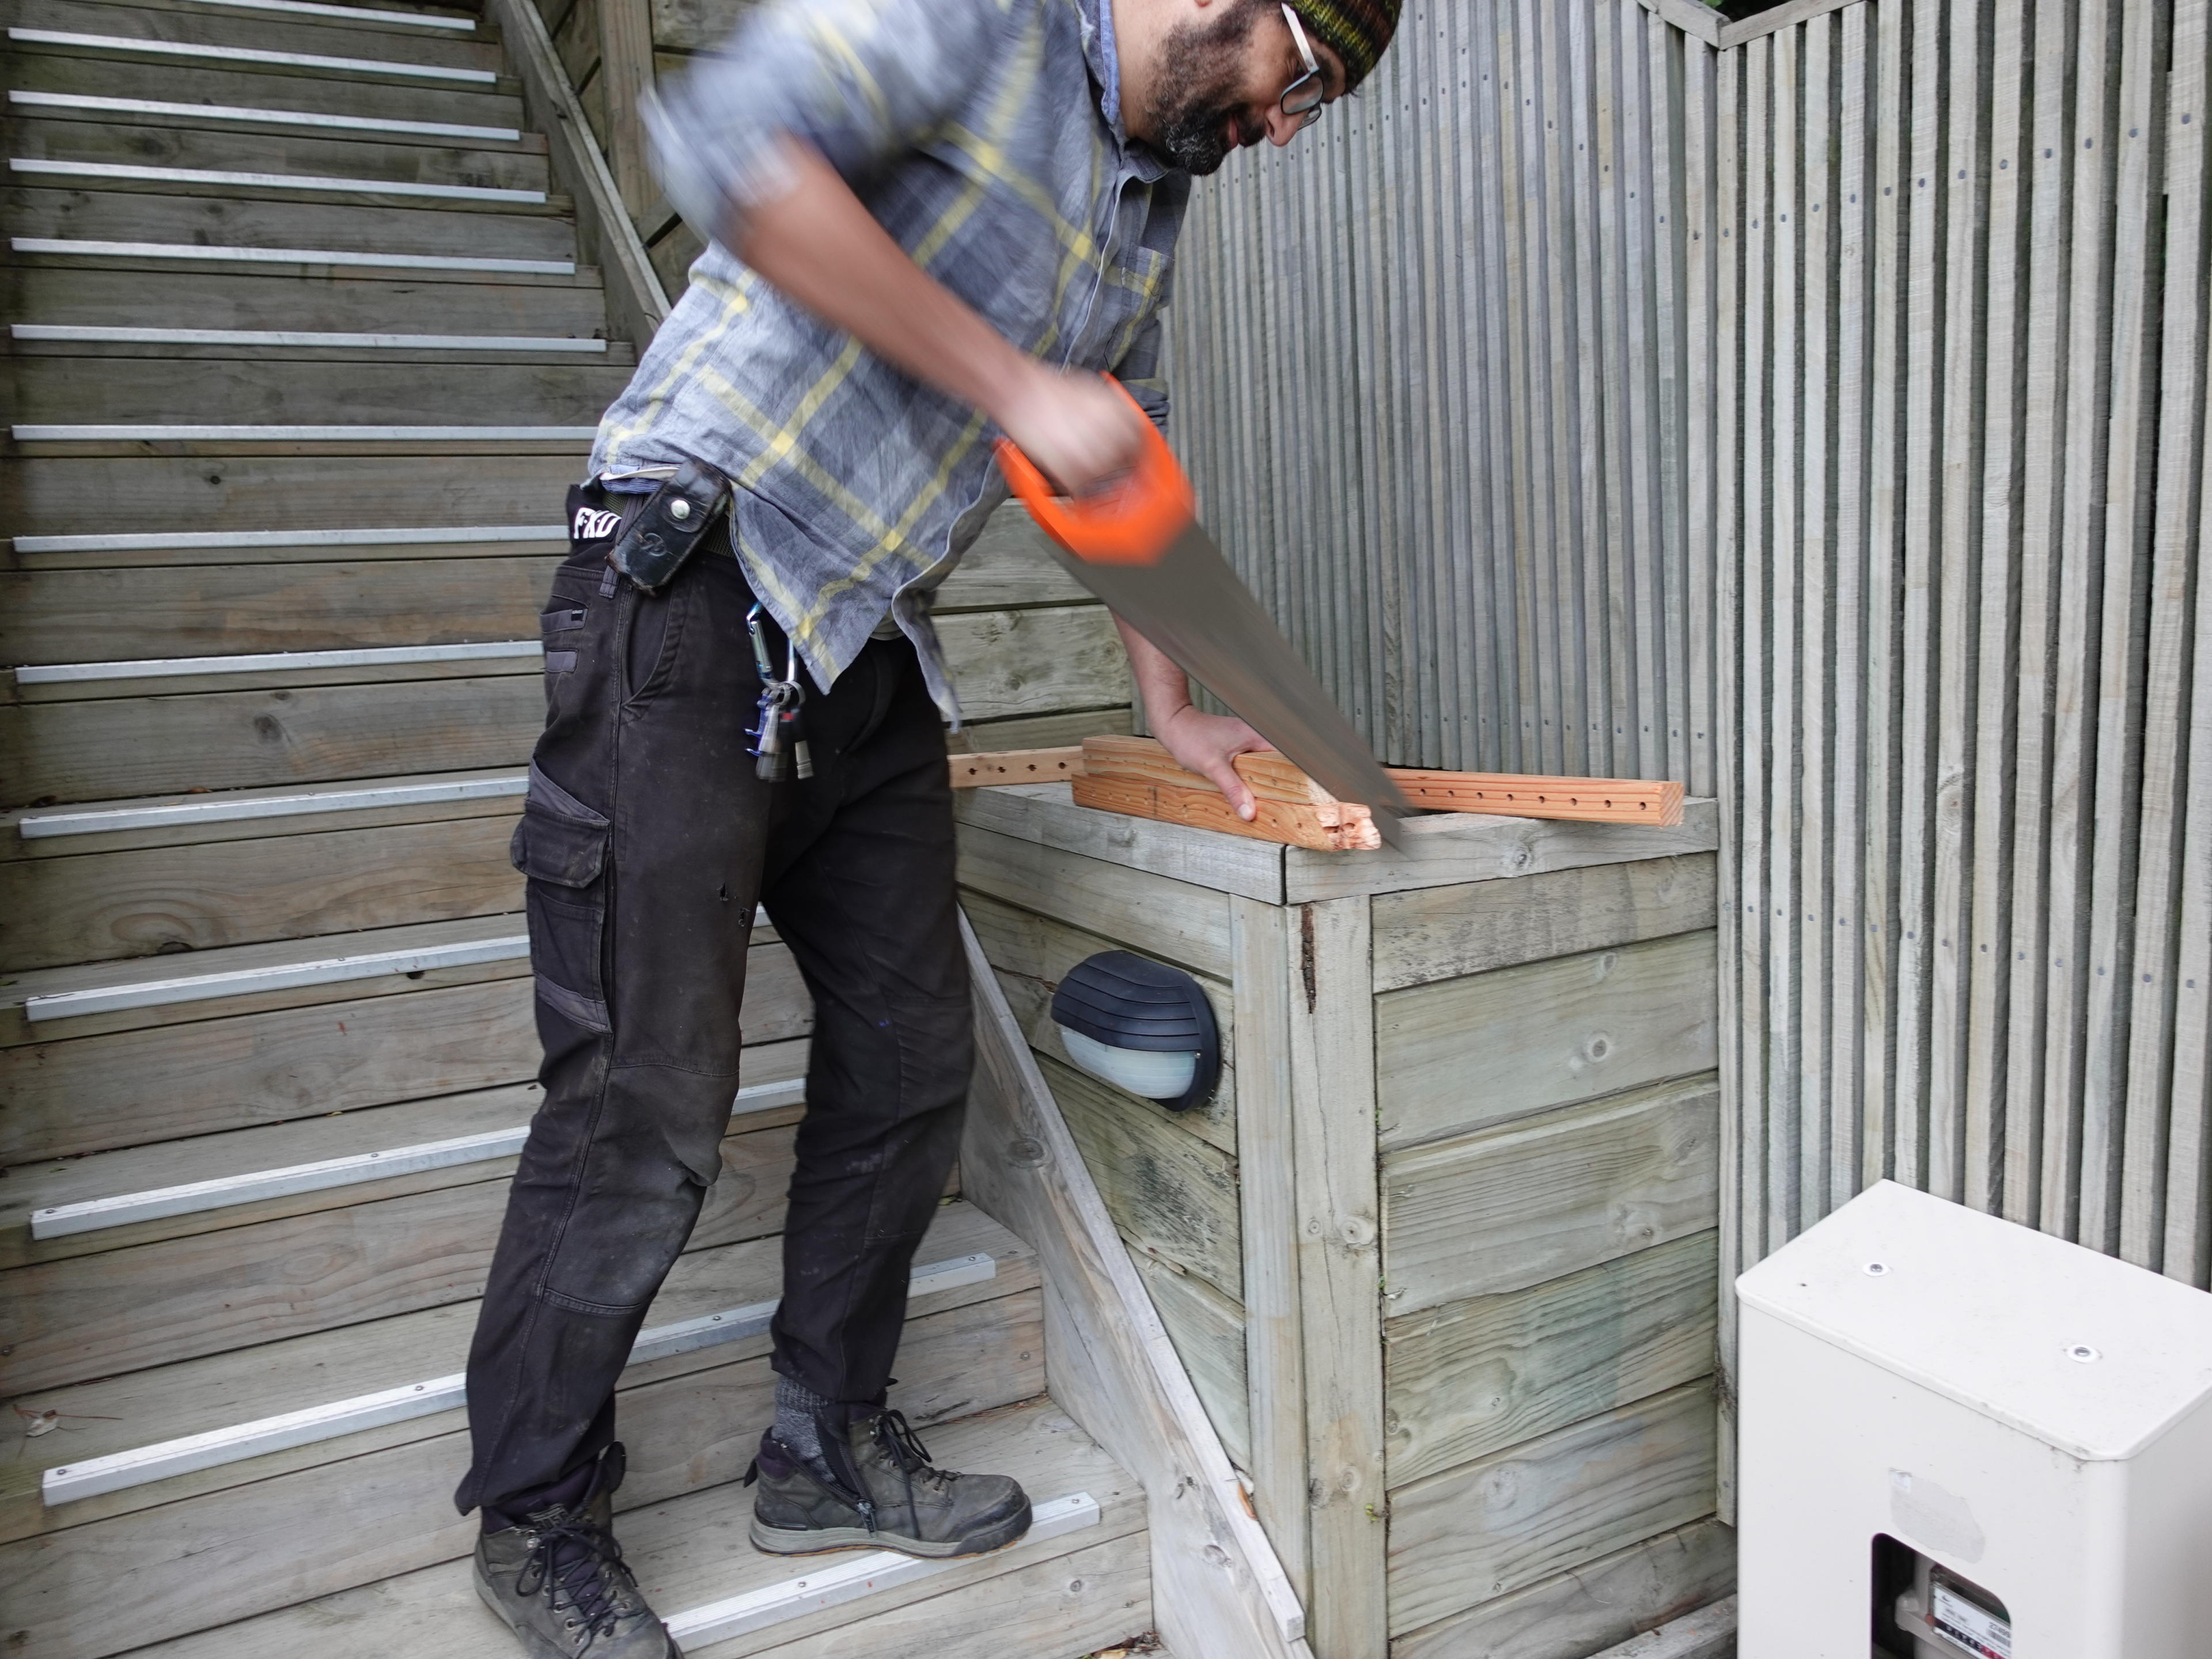
Cut a beam to length by cutting exactly halfway between holes using a hand-saw.
It’s important to try and make your cuts as accurate as possible to ensure your beams are of even size.
You can use a circular saw or other cutting tools, though it’s crucial to adhere to the 40mm grid size by ensuring cuts are exactly 20mm between holes.
When cutting a panel you will need to be extra careful to keep the wood steady and well supported. An extra pair of hands can help with this.
We recommend cutting your beams outside and in a well ventilated area. Wear a dust mask and safety glasses for best safety practice. Since our beams are untreated, the sawdust is safe to feed to your garden.
Make use of our cutting jig to help guide cuts. Otherwise, use a tape measure to mark each cut precisely.
4. Sanding
After cutting your grid beams & panels you can touch the ends up with sandpaper. While not strictly necessary, it’ll give your wood a nicer finish.
Start with a lower grit (rough) sandpaper to remove any sharp edges before using a higher grit (fine) sandpaper to soften the edges.
For a quick and easy sand, use only 80 grit sandpaper.
For a more complete sand, use a progression of 80, 120, to 220 grit sandpapers.
Use a sanding block for better sanding. A small piece of grid beam (with 2, 3, 4, or 5 holes) works wonders!

5. Assembling
To assemble your creation, use fasteners to form joins between beams.
To create a join, line up the holes of two beams where you want them to connect. Thread a bolt through one side and a nut through the other. Tighten the two together to form the join.
Joining different numbers of beams and panels together is possible with different combinations of our supplied nuts & bolts.
We recommend assembling the smaller components of your creation first without any uprights, (for example, each individual shelf). Then, combine the components together with the uprights as a whole.
If your creation is tall, you may find it easier to assemble the creation on its side. Similarly, you may find it easier to assemble your creation upside down.
Once assembled, test your creation’s strength by carefully placing weight on the structure. If the beams bend then you may want to consider adding more vertical support.
We recommend only loosely tightening the fasteners to begin with (hand-tight). This will provide wiggle room to help ensure that the rest of your beams line up nicely. Once all of the joins are in place, go through and tighten each join using hex keys.


6. Completion
With your creation fully assembled, you have now completed the basic steps to get started building with Grid Kit. Go ahead and start using your creation or modify it as you see fit. Potential modifications include connecting add-ons, adding a coat of paint, or anything else you can think of. The possibilities are endless.
Finally, if you wish to disassemble your creation, all you need to do is reverse the assembly process. Unscrew the nuts & bolts at each join and soon you’ll be free to reuse the beams & panels in your next project.
